
Discover the Difference
That We Can Make!
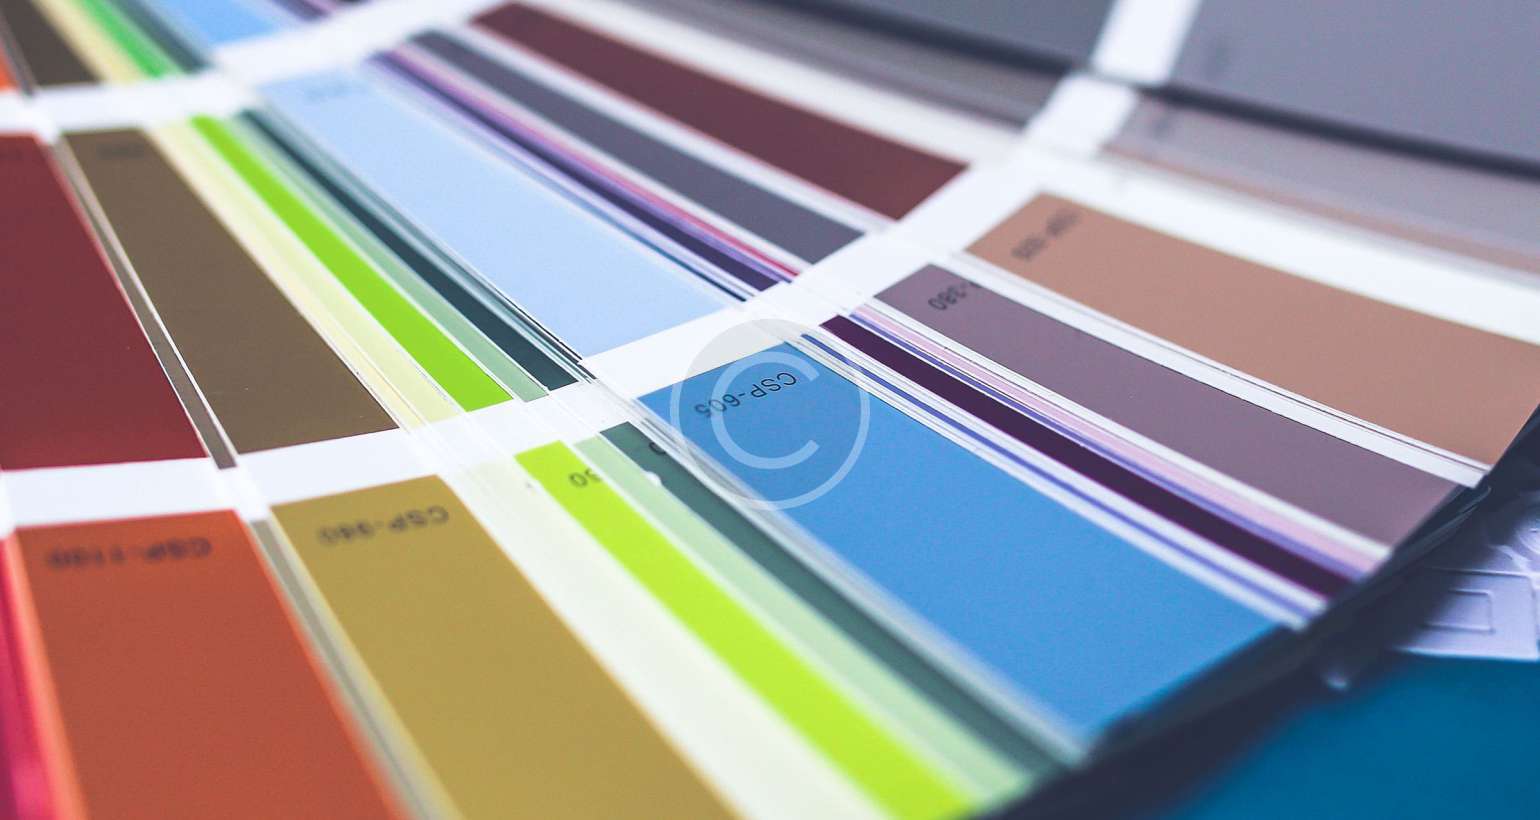
Color consulting for painting purposes involves selecting the right colors for a room or exterior surface, taking into consideration the existing decor, lighting, and personal preferences of the homeowner. A color consultant can help you choose colors that complement each other, create a desired mood or atmosphere, and reflect your personal style.
Here are the steps involved in color consulting for painting purposes:
- Assessment: The consultant will assess the room or exterior surface to be painted, taking into consideration the existing decor, lighting, and personal preferences of the homeowner.
- Color consultation: The consultant will provide recommendations for colors that complement each other, create the desired mood or atmosphere, and reflect the homeowner’s personal style. This may involve creating a color scheme, or selecting specific colors for each wall or surface.
- Sampling: The consultant will provide color samples for the homeowner to see how the colors look in the room or on the surface, taking into consideration the lighting and the time of day.
- Decision-making: Based on the color samples and the homeowner’s preferences, the final colors will be selected and the painting process can begin.
A color consultant can help you avoid common color mistakes, such as choosing colors that are too bold or intense, or colors that clash with the existing decor. They can also help you create a harmonious color scheme that enhances the overall look of your home.
Understanding the Process
Room preparation is an important step in the painting process, as it ensures that the paint will adhere properly and look its best. Here are the steps involved in preparing a room for painting:
- Remove furniture: Move all furniture and decor items out of the room or to the center of the room and cover them with drop cloths or plastic sheets. This will protect them from paint splatters and drips.
- Clean the walls: Clean the walls to remove any dirt, dust, or grease. Use a damp cloth to wipe down the surfaces, or use a wall-cleaning solution if necessary.
- Repair any damage: Fill any holes or cracks in the walls with spackling compound and sand the surface smooth. Sand any rough or glossy areas to ensure a uniform surface for the paint to adhere to.
- Mask off areas: Mask off areas that you don’t want to be painted, such as baseboards, crown molding, and windowsills, using painters tape. Cover floors and windows with drop cloths or plastic sheets to protect them from paint splatters.
- Prime the surfaces: If necessary, apply a coat of primer to the walls to improve adhesion and to provide a uniform surface for the paint to be applied to.
By following these steps, you will ensure that your room is properly prepared for painting, which will result in a smooth and uniform finish that looks great and lasts for years to come.
.
Mask off areas that you don’t want to be painted, such as baseboards, crown molding, and windowsills, using painters tape. Cover floors and windows with drop cloths or plastic sheets to protect them from paint splatters.
Clean the walls: Clean the walls to remove any dirt, dust, or grease. Use a damp cloth to wipe down the surfaces, or use a wall-cleaning solution if necessary.
Painting: Once the surfaces have been primed, they are ready for painting. Paint should be applied in thin, even coats, taking care to avoid drips and runs. It’s best to work in small sections, painting the edges first and then filling in the center.
Inspection in painting is the process of carefully examining the surfaces to be painted and the surrounding areas to determine the condition of the surfaces and identify any potential issues that need to be addressed before painting.